







Are you ready for Christmas?
Share this:
Christmas will soon be here so we are gearing up to enjoy the season! It always seems to sneak up on me, but I am trying to be better prepared this year.
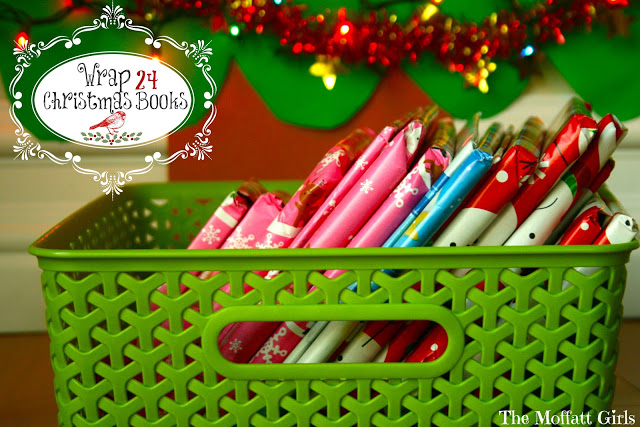
I have always wanted to try this cute tradition of wrapping up 24 Christmas books. You simply wrap 24 Christmas books that you already own and you open one book each day leading up to Christmas. The girls were THRILLED with the idea and they keep asking if they can open up a book and read it right now! Of course we are going to wait until December 1st, but they are super excited! Talk about a great way to get kids excited about reading!

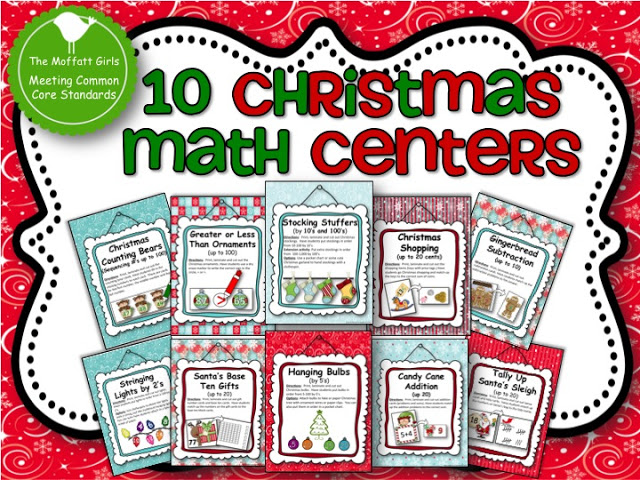
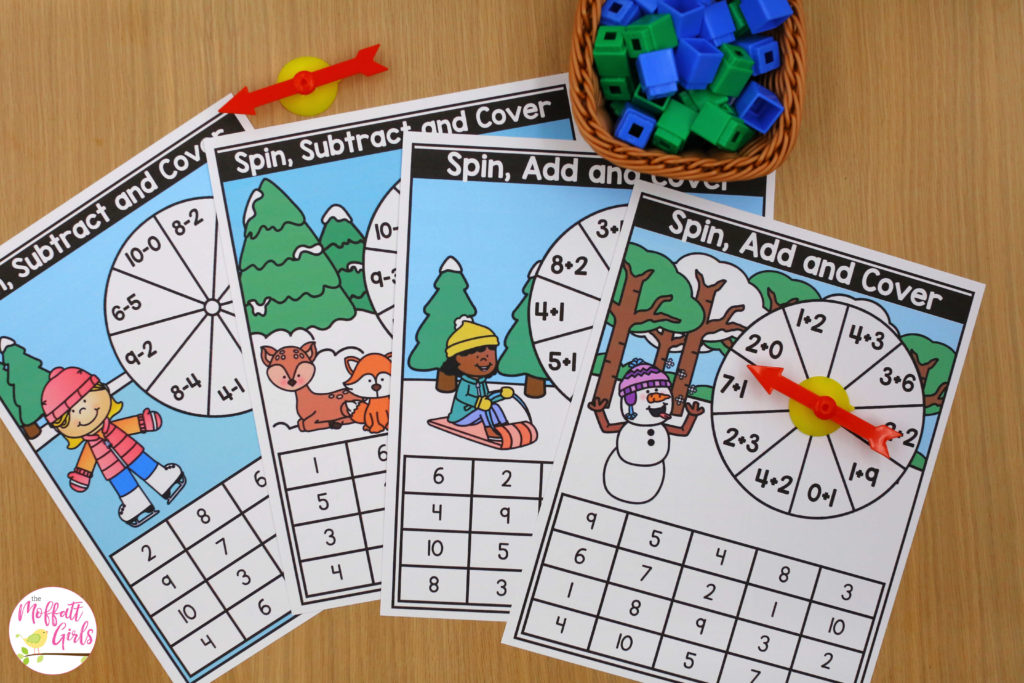
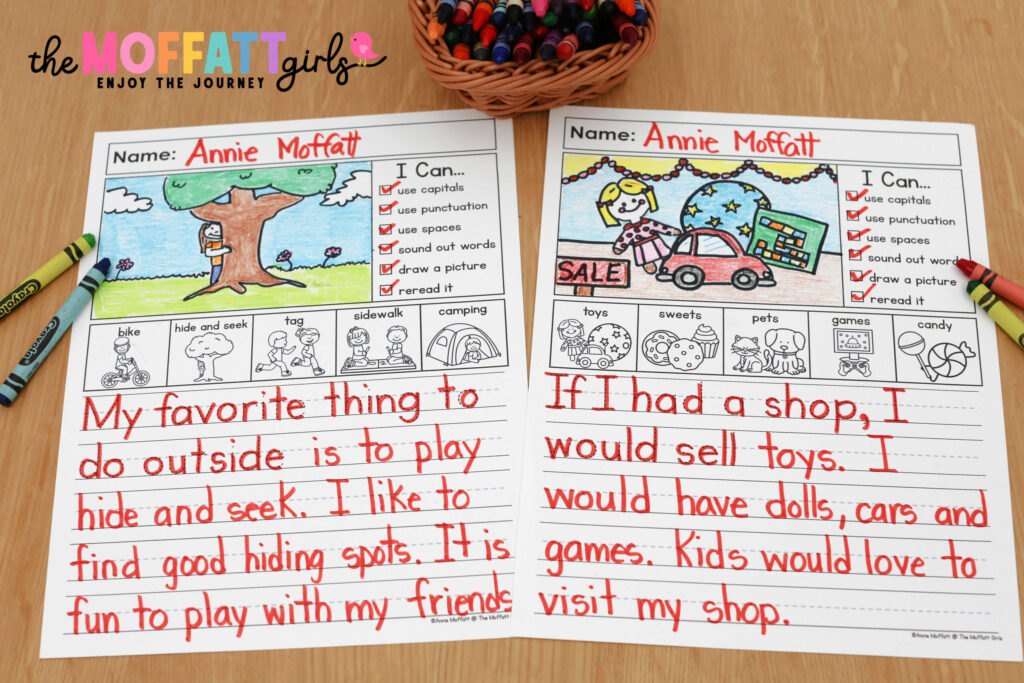
We also made our very own Christmas tree! Why did we make a Christmas tree? We are using our cute paper Christmas tree in conjunction with 10 Christmas Math Centers pack. In our Christmas pack we have ornaments, lights and stockings, which will all be hung on our paper Christmas tree. I can’t wait to show you! I have already printed and laminated all of the materials! We are ready to make math FUN!
The best part about our tree is that the girls helped make it and we really enjoyed it! I could have bought the pre-made one from out teacher supply store, but this was so much more fun! Plus…ours has REAL Christmas lights and garland!

How to make your own paper Christmas tree:
1) Use fadeless paper and trace your tree design on the backside. I traced 5 scalloped layers to form a tree. After cutting out each layer, I taped the layers on top of each other to create a full size tree. You could also draw a simple triangular shape, which would work just as well.
2) Add a tree trunk to the base with a brown piece of construction paper. No cutting required.
3) String real lights across the tree. The best way to attach the lights is with some 3M hooks. The hooks are actually attached to the wall, not the Christmas tree. Tape will only cause the paper to rip and will not hold up for very long. This, I know by experience.
4) We also added garland from the Dollar Store and a simple star on top.
5) Add some cotton balls and you have falling snow!
That’s it! Super easy, super fun! It’s all about getting kids excited about learning!
We also decorated our pocket chart to make learning a little more exciting!

We have a ton of crafts planned, a bunch of fun learning and freebies too! So stay tuned!
Share this:

Annie Moffatt
Annie Moffatt is a former elementary school teacher and homeschool mom with a passion for helping young learners thrive. With a background in early education and a heart for making learning fun, Annie designs engaging, low-prep resources that build confidence and success in the classroom. Her hands-on, kid-friendly approach has supported thousands of teachers and parents around the world in creating joyful learning experiences for their students.
Your pictures look awesome Annie!
I love the idea of wrapping the books and the tree is just gorgeous. Happy Holidays!!
Can't wait to see what you have planned to go along with the math centers! I just purchased the package earlier this week and can't wait to use it!
We are also loving Ready 2 Read level 1!
I ordered the same laminator and plastic sleeves that you recommend and am looking forward to receiving them. Will be much easier and cheaper than contact paper.
Thanks for providing such wonderful curriculum choices.
I just wanted to add one more thing – I am also doing the book advent calendar as well as an activity one. I am looking forward to showing my girls! I think it will be fun,
I hope to order this soon. Love your tree. If we had more space I'd put one up. Miss having a large home 😉
I'm using your Ready2Read with my 8 year old to get him more fluent with his reading. We, I mean Lance is having fun.
Blessings,
Linda<><
Annie, you're genius!! Now I'm going to make a paper tree with real lights for my classroom!!!! Woot!
❤Teri
A Cupcake for the Teacher
Omigosh this is super cute!
Omigosh this is super cute!
Your stuff is always so cute! Love the paper tree with real lights! Gonna have to try that one!
Robynn
BusyBees
I love how you have decorated! I never would have thought to use a paper tree with lights. Nice work! I'm sure the girls will be having a blast!!
Shibahn
I'm curious … how tall is your tree? How wide is the bottom layer? I really love it! I tried to duplicate the idea for my wall at school. *sigh* It was a bit challenging to get it balanced! 🙂